Contents
- Deploying the Kaspersky Secure Mail Gateway virtual machine image
- Preparing to deploy
- Step 1. Selecting a virtual machine image
- Step 2. Viewing details of the virtual machine image
- Step 3. Reviewing the License Agreement
- Step 4. Naming the virtual machine
- Step 5. Selecting a destination storage for the virtual machine
- Step 6. Selecting a storage option for virtual machine files
- Step 7. Starting and finishing deployment of the virtual machine image
Deploying the Kaspersky Secure Mail Gateway virtual machine image
This section provides step-by-step instructions for deploying the image of the Kaspersky Secure Mail Gateway virtual machine on a VMware ESXi host.
Preparing to deploy
Before deploying the image of the Kaspersky Secure Mail Gateway virtual machine, verify that the VMware ESXi version and hardware resources allocated for the virtual machine meet the software and hardware requirements.
Step 1. Selecting a virtual machine image
The Kaspersky Secure Mail Gateway virtual machine image is distributed in an OVF package.
To deploy the virtual machine image from the OVF package:
- Start VMware vSphere Client.
- In the File menu, select Deploy OVF Template (see figure below).
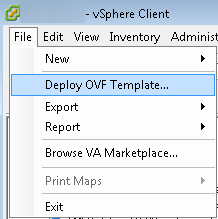
Deploying a virtual machine out of an OVF template
The Deploy OVF Template window opens (see figure below).
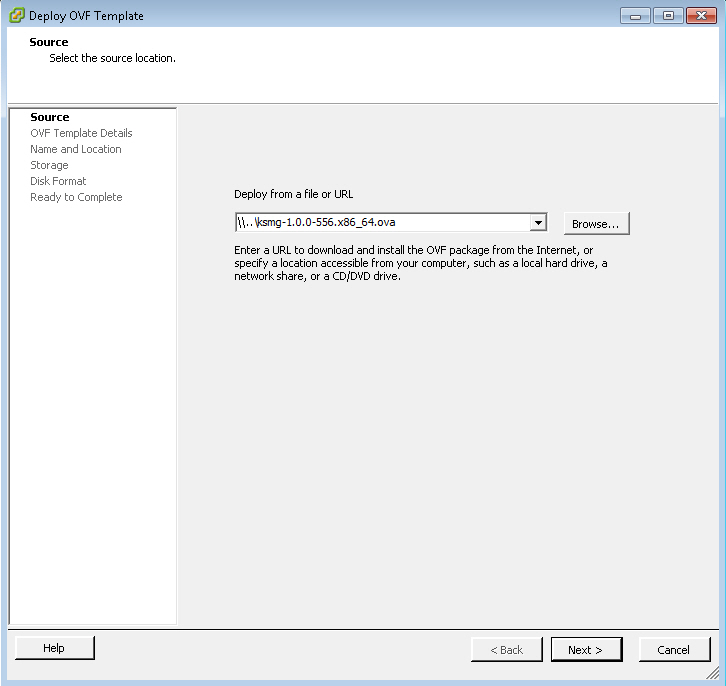
Selecting a template to deploy
- In the Deploy OVF Template window, select a file with the OVA extension, which contains the image of the Kaspersky Secure Mail Gateway virtual machine.
- Click Next.
The Wizard proceeds to the next step.
Step 2. Viewing details of the virtual machine image
To view the details of the Kaspersky Secure Mail Gateway virtual machine image:
- View the details of the virtual machine image selected at the previous step (see figure below).
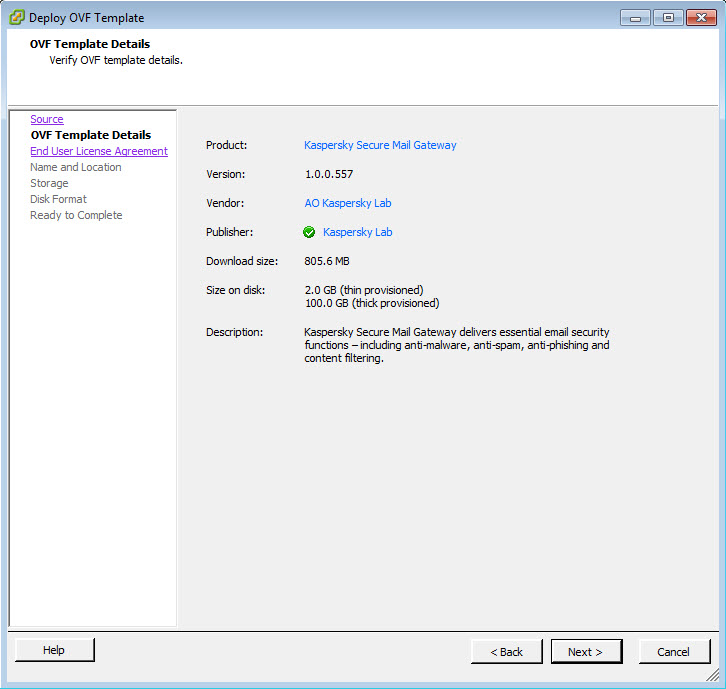
Viewing details of the virtual machine image
- Click Next.
The Wizard proceeds to the next step.
Step 3. Reviewing the License Agreement
To continue the deployment process, you have to accept the terms of the End User License Agreement. Deployment will not continue if the terms of the End User License Agreement are not accepted.
To accept the terms of the End User License Agreement:
- In the Deploy OVF Template window (see figure below), click Accept.
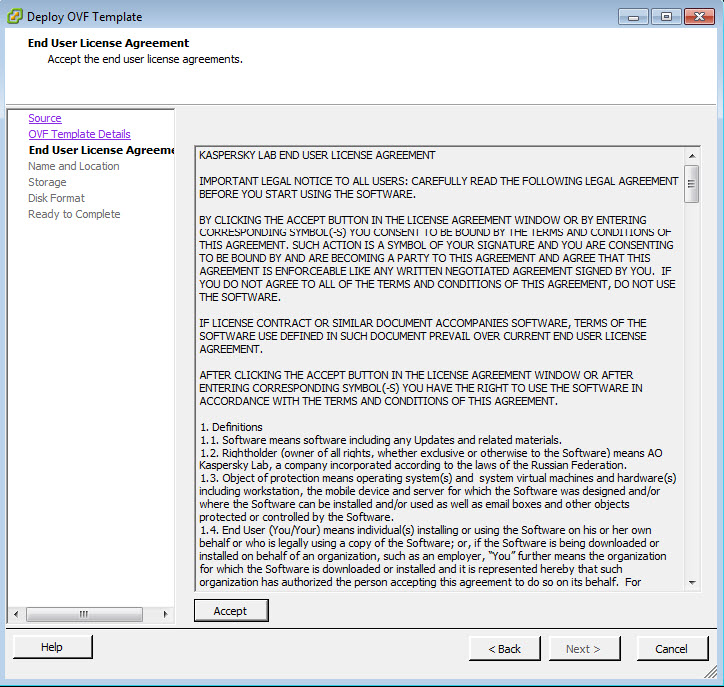
Reviewing the License Agreement
- Click Next.
The Wizard proceeds to the next step.
Step 4. Naming the virtual machine
To name the Kaspersky Secure Mail Gateway virtual machine image:
- Type the name of the virtual machine in the Name field (see figure below).
The name must be unique among the names of all existing virtual machines.
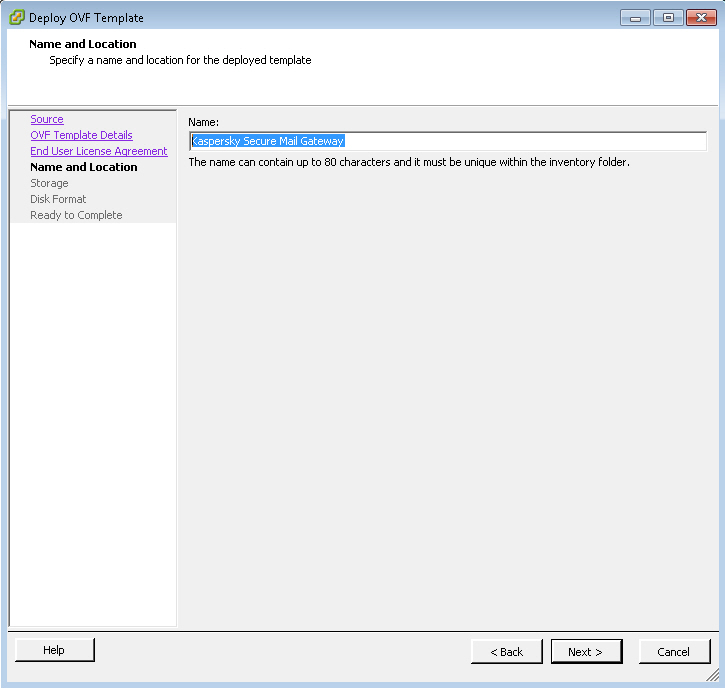
Naming the virtual machine
- Click Next.
The Wizard proceeds to the next step.
Step 5. Selecting a destination storage for the virtual machine
To select a destination storage of the VMware ESXi host to store files of the Kaspersky Secure Mail Gateway virtual machine:
- Select a destination storage in the list (see figure below).
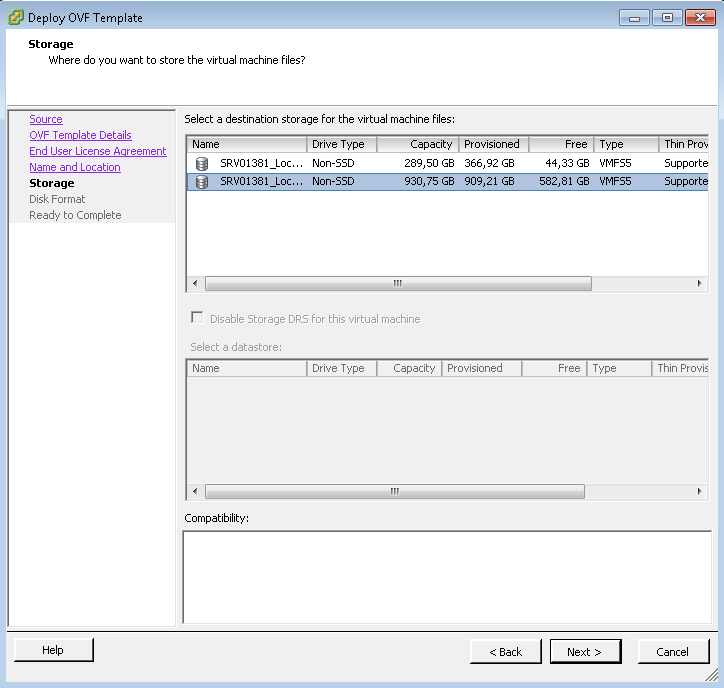
Selecting a destination storage for the Kaspersky Secure Mail Gateway virtual machine
- Click Next.
The Wizard proceeds to the next step.
Step 6. Selecting a storage option for virtual machine files
To select a storage option for files of the Kaspersky Secure Mail Gateway virtual machine in the destination storage of the VMware ESXi host:
- Select one of the following list options (see figure below):
- Thick Provision Lazy Zeroed. The specified disk space is immediately reserved for virtual machine files. Data blocks inside the allocated space are overwritten with virtual machine data as they are accessed.
- Thick Provision Eager Zeroed. The specified disk space is immediately reserved for virtual machine files. Data blocks of the disk space are cleared immediately.
- Thin Provision. The minimum required disk space is reserved for virtual machine files. This disk space can be increased if necessary.
We recommend using one of the Thick Provision options.
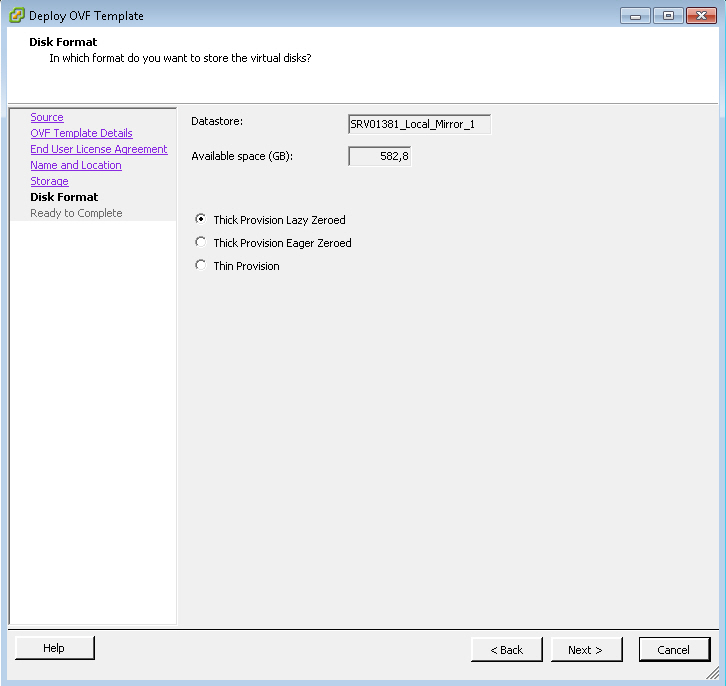
Selecting a storage option for files
- Click Next.
The Wizard proceeds to the next step.
Step 7. Starting and finishing deployment of the virtual machine image
To start deploying a virtual machine image and verify that deployment has finished correctly:
- Verify that the virtual machine settings configured at previous steps are correct (see figure below).
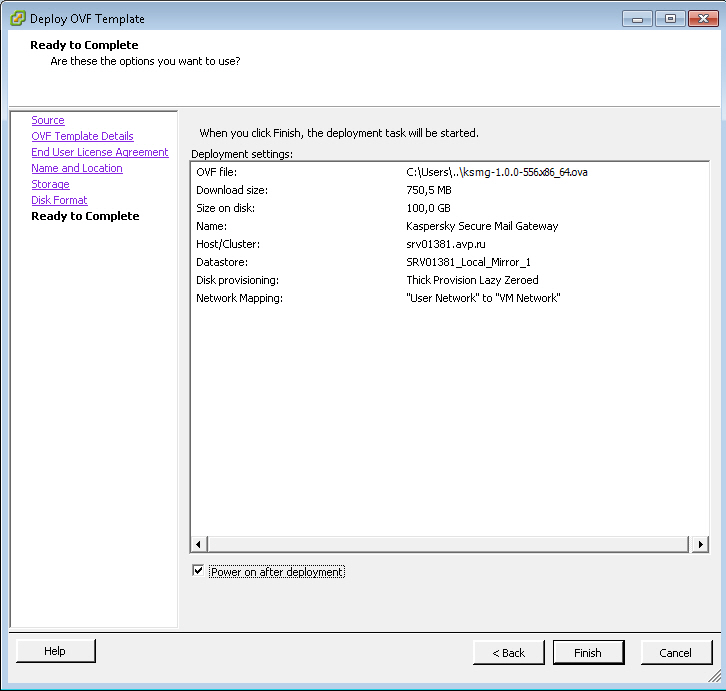
Viewing deployment settings
- Select the Power on after deployment check box if you want the virtual machine to start automatically after deployment.
- If all settings are configured correctly, click the Finish button.
The virtual machine image deployment process starts (see figure below):
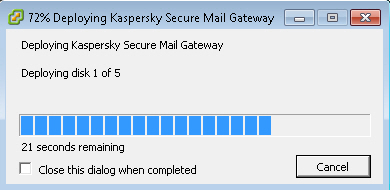
Progress of virtual machine deployment
- Select the Close this dialog when completed check box if you want the virtual machine image deployment progress window to close automatically as soon as deployment finishes.
- Click Close(see figure below) when deployment finishes.
Finishing virtual machine deployment
After deploying the virtual machine image, perform initial configuration of the virtual machine.